How to Clean After Construction: Your Reno Homeowner's Guide

TL;DR: Cleaning up after a renovation is a big job. The secret is a three-phase system: a rough clean for big debris, a detailed top-to-bottom deep clean (dry first, then wet), and a final touch-up for resettled dust. Whether you're dealing with desert dust in Sparks or mud after a Tahoe snowmelt, this methodical approach is key to getting your home back.
So, the last contractor just packed up and left. Congratulations! The renovation is finally done. But as you look around, you realize the real work is just beginning. Construction dust has a way of settling on every single surface, and if you're in the Reno area, it's often mixed with that unique blend of dust from desert winds.
This isn't just a weekend tidy-up-it's a major undertaking. This guide will walk you through exactly how to clean after construction so you can reclaim your space and enjoy the results of all that hard work, without sacrificing your mountain-town weekends.
The secret? A three-phase system that professionals swear by. You'll start with a rough clean to get rid of the big stuff, move into a painstaking deep clean, and finish with a final touch-up. It's all about working methodically from dry to wet, and from top to bottom. Following this plan means you won't be redoing work, saving you a ton of time and frustration.
Why Post-Construction Cleaning is a Different Beast
That feeling of excitement after a renovation can quickly turn to overwhelm when you see the mess left behind. The fine dust from our desert climate seems to creep into every new nook and cranny. And if you’re closer to Tahoe, a sudden spring snowmelt can mean mud gets tracked through your brand-new space. This isn't your average cleaning job-it’s a specialized project that demands a solid plan.
Regular house cleaning just doesn't cut it here. You're dealing with materials that can be stubborn and even hazardous. That fine drywall dust, for instance, can hang in the air for days and wreak havoc on your HVAC system if it's not managed correctly. This is exactly why a methodical, phased approach isn't just a good idea; it's essential.
The Three-Phase System
You’ll never see a pro just start wiping surfaces at random. They follow a proven system that makes the whole process efficient and thorough. Let's break down the three distinct stages they use.
To give you a quick overview, here's how the professionals tackle the job:
Post-Construction Cleaning At a Glance
Cleaning PhaseKey TasksMain GoalRough CleanRemoving large debris, leftover materials, packaging, and sweeping up big piles of dust.To clear the area of all major obstacles and prepare for detailed work.Detail CleanA top-to-bottom deep clean of all surfaces: lights, walls, cabinets, windows, and fixtures.To remove all the fine dust and grime from every single surface in the room.Final Touch-UpWiping away resettled dust, polishing fixtures, cleaning fingerprints, and final floor mopping.To catch any last imperfections and make the space truly move-in ready.
This structured process is the key to turning a chaotic construction zone back into a comfortable, livable home. It’s the same strategy a professional house cleaning Reno NV service would use to deliver that perfectly spotless finish.
Gear Up: Your Essential Safety Checklist for the Cleanup
Before you even think about tackling that mountain of dust, we need to have a serious talk about safety. It's easy to look at your newly renovated space and just see a mess, but a post-construction site is a legitimate hazard zone. We’re dealing with more than just dirt here-think fine silica dust that's nasty to breathe, sneaky nails waiting for a misplaced foot, and residues from all those new materials.
Skipping this prep work is a rookie mistake. It's the first, most crucial step in any post-construction cleanup, and honestly, it’s what separates a smooth project from a potential disaster.
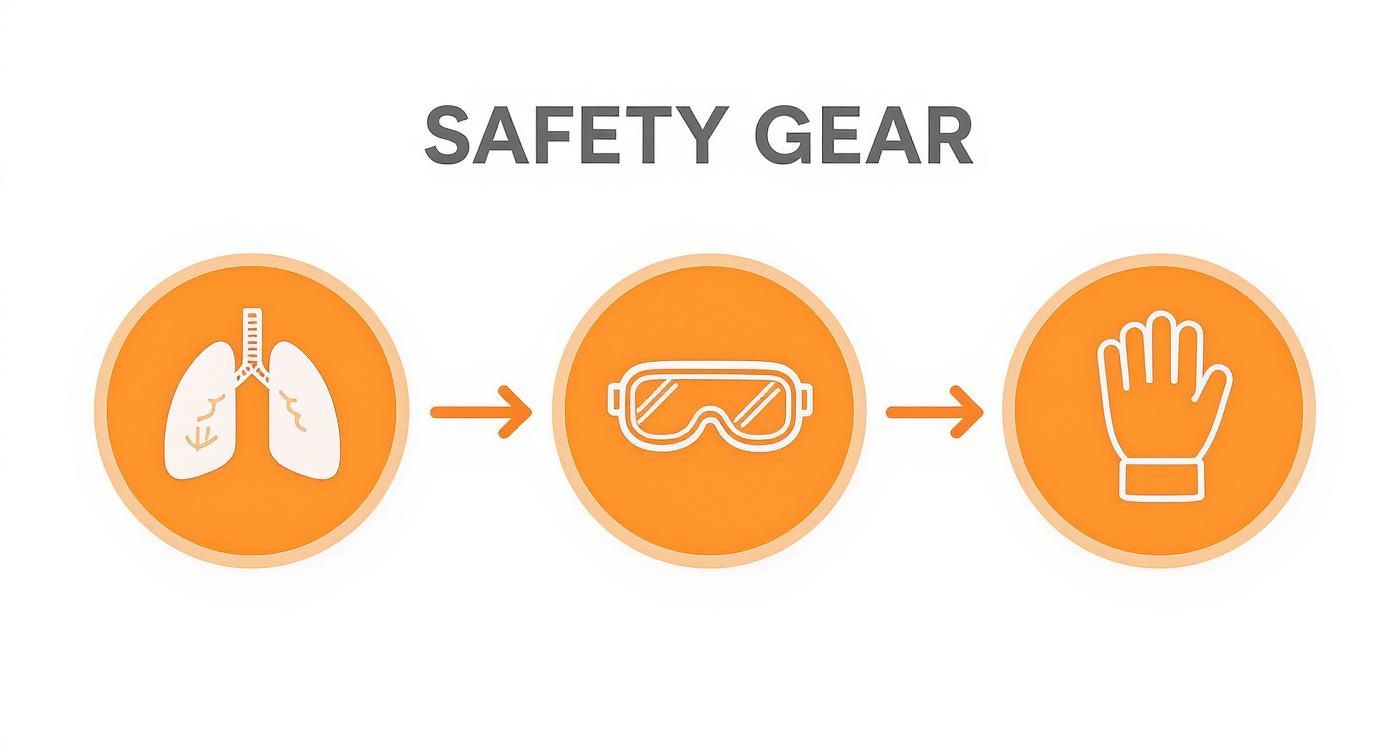
Your Lungs Are Your Top Priority
The most dangerous thing on a job site is often the stuff you can't see. I'm talking about the super-fine dust from drywall, concrete, and wood. This isn't your average household dust; it often contains silica, which can cause serious, long-term lung issues if you breathe it in. A simple cloth mask just isn't going to protect you.
You need a real, certified respirator that’s designed to filter out these microscopic particles. Pay attention to the rating-it tells you exactly what it's protecting you from.
- N95 Respirator: This is your baseline. It filters out 95% of airborne particles and is a solid choice for general drywall and wood dust.
- P100 Respirator: If you're dealing with anything more serious, like potential lead paint dust or oil-based mists, step up to a P100. It filters out nearly 100% of particles and offers much more robust protection.
And remember, the fit is everything. A respirator is useless if it doesn't create a tight seal around your face. Any gaps let the bad stuff in, completely defeating the purpose.
Protect Your Eyes and Hands
Next up: your eyes and hands. Construction debris is sharp, jagged, and unpredictable. One wrong move and you could be dealing with a deep splinter, a cut from a hidden metal shard, or a serious eye injury from a cloud of dust.
Safety glasses or goggles are non-negotiable. Get a pair with good side protection, because dust and debris have a way of coming at you from all angles.
And please, ditch the flimsy latex cleaning gloves. You need a pair of heavy-duty, puncture-resistant work gloves. They're your first line of defense against all the sharp objects-screws, nails, splinters-that are inevitably hiding under that layer of grime.
Every professional house cleaning Reno NV crew I've ever worked with shows up with this exact gear. It's just part of the job. Working safely means working efficiently, without stopping for a preventable injury.
A Few Final Safety Checks Before You Start
Personal gear is only half the battle. Before you pick up a single tool, take a few minutes to prep the environment itself. A quick safety walkthrough can save you a world of hurt.
- Get the Air Moving: Throw open every window and door you can. Set up a few box fans to create a strong cross-breeze. Your goal is to push all that dusty, stale air out and pull fresh air in. This is a big one for us here in Reno and Sparks, where that fine desert dust just loves to hang around.
- Kill the Power: Before you go anywhere near light fixtures, ceiling fans, or electrical outlets with a wet rag, head to your breaker box and shut off the power to those areas. Water and live electricity are a combination you never want to mess with.
- Do a "Sharps" Sweep: Walk through each room slowly and deliberately, with the sole mission of spotting sharp objects. Pick up every stray nail, screw, shard of glass, or discarded utility knife blade you see. Getting these out of the way first makes the rest of the job so much safer.
These checks are quick, simple, and absolutely essential. They set the stage for a safe and successful cleanup, getting you that much closer to finally enjoying your new space.
A Cleaning Strategy That Actually Works
Alright, the safety gear is on and you're ready to tackle the mess. But where do you even start? If you just grab a rag and start wiping, you're signing up for a world of frustration. You'll end up cleaning the same spot three times as dust from above settles right back down.
Believe me, I've seen it happen. The pros know the secret is a systematic, three-phase approach that guarantees you're not just moving dust around. It’s a strategy that moves from big to small, high to low, and dry to wet. Following this order is how you win the war against construction dust, not just a few small battles.
First, The Rough Clean
Think of the rough clean as the initial triage. The goal here isn't perfection-it's about clearing the battlefield so you can actually see what you're up against. This first pass removes all the big, obvious messes that get in the way of the real detail work.
Your main tasks are pretty straightforward:
- Gather large debris: Collect leftover scraps of wood, drywall, tile, and any other bulky building materials.
- Remove trash and packaging: Get rid of cardboard boxes, plastic sheeting, and protective films.
- Do an initial heavy sweep: Use a push broom to gather the largest piles of sawdust and debris. Don't worry about the fine dust yet-just get the big stuff out.
This stage is absolutely crucial. Globally, the construction industry produces a staggering 2 billion tons of this kind of waste every year. Clearing your small corner of it first is the only way to move forward.
Second, The Detail Clean
Now for the real work. The "light" or "detail" clean is a bit of a misnomer; it's actually the most intensive and time-consuming part of the whole process. This is the top-to-bottom deep clean where you methodically eliminate dust and grime from every single surface.
The golden rule here is to work from the top down. Dust obeys gravity, so always start with the highest points in a room (think light fixtures and ceiling corners) and work your way to the floor. It's the only way to avoid having to re-clean surfaces you've already wiped.
Another key principle? Clean dry before you clean wet. Grab a shop vacuum with a brush attachment or a dry microfiber cloth to remove the bulk of the dust first. If you introduce water too early, you'll just turn that fine dust into a streaky, muddy paste that’s a nightmare to clean up. That super-fine drywall dust is especially tricky and will smear everywhere if you don't tackle it dry first.
Here's a quick checklist for the detail clean:
- Ceiling fixtures and fans
- Walls (wiped or vacuumed)
- Window frames, sills, and tracks
- Inside and outside of all cabinets and drawers
- Countertops and backsplashes
- Appliances and fixtures
- Baseboards and door frames
Finally, The Touch-Up Clean
You’ve done the heavy lifting, and the space is looking great. But wait a day or two, and you’ll notice a light film of dust has resettled on everything. This is totally normal. The final clean, or touch-up clean, is the last pass that takes your home from "clean" to "sparkling."
This final phase is what creates that "wow" moment. It’s the difference between a space that looks clean and a space that feels clean-ready for you to move in and enjoy.
This is where you tackle all the small imperfections that become visible once the heavy dust is gone. Think smudges on the windows, fingerprints on the stainless steel, and that last bit of settled dust on the countertops. Your goal is to polish every surface, from chrome fixtures to glass panes, making sure your new space is truly move-in ready.
Your Essential Post-Construction Cleaning Toolkit
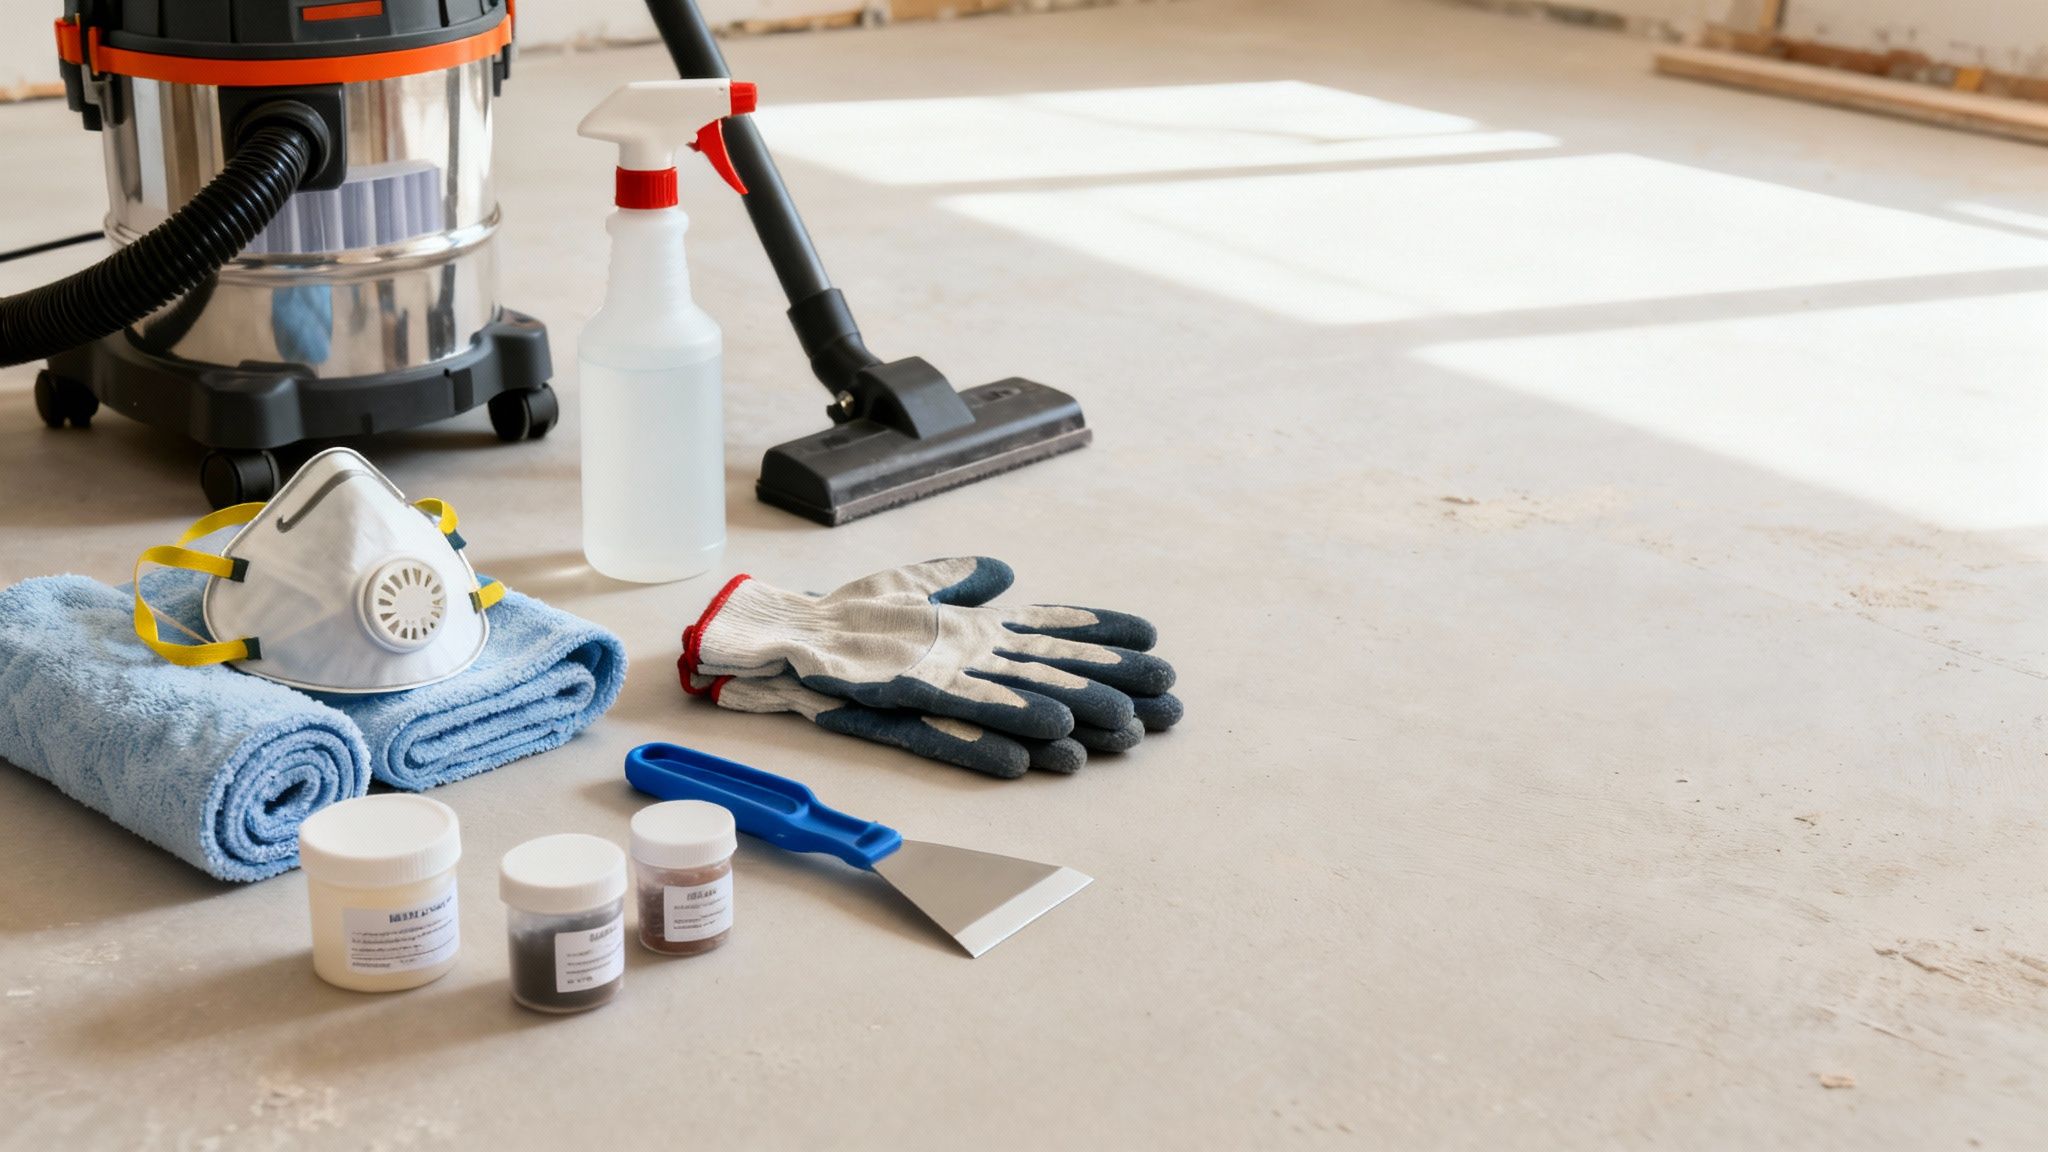
Trying to tackle a post-construction cleanup without the right gear is like trying to shovel snow with a teaspoon-it's frustrating, slow, and you'll barely make a dent. Having the proper tools isn't just about working faster; it's about protecting your new investment and getting a truly professional result. Trust me, this is one job where your standard household cleaning supplies just won't cut it.
Let's move past the basic sponge and bucket and assemble the kind of toolkit the pros use. This is the gear that makes a brand-new space in Carson City or Incline Village actually feel new. Arming yourself correctly from the get-go will save you countless hours of re-doing work.
The Heavy-Duty Dust Buster
If there’s one non-negotiable tool, it’s a heavy-duty shop vacuum equipped with a high-efficiency particulate air (HEPA) filter. Don't even think about using your regular home vacuum. The fine, gritty nature of drywall and concrete dust will destroy its motor and, even worse, pump those microscopic particles right back into the air.
A shop vac is built for this kind of punishment. The HEPA filter is the real MVP here, designed to capture a staggering 99.97% of tiny particles. It traps the dust for good instead of just moving it around.
Tools for Dusting and Wiping
After you've vacuumed up the big stuff, it's time to get into the detail work. The cloths and solutions you choose here will make all the difference.
- Microfiber Cloths: Forget old t-shirts or paper towels. Microfiber is a must-have. Its fibers create a static charge that grabs onto dust particles instead of just smearing them across the surface. You'll need a lot of them, so buy a big pack.
- Extendable Duster: This is your best friend for reaching the tops of ceiling fans, high ledges, and window casings without needing to balance on a ladder.
- Neutral pH Cleaner: For most brand-new surfaces, a gentle, all-purpose cleaner is the way to go. It’s effective on everything from countertops to painted walls without the risk of damaging fresh finishes or unsealed stone.
- Adhesive Remover or Mineral Spirits: You'll need something stronger for the really stubborn stuff-think sticker residue on new windows or adhesive from protective films. Always use it sparingly and test on a hidden spot first.
The right tools do more than just clean-they protect. Using a soft plastic scraper instead of a metal one to remove a paint fleck can be the difference between a pristine new window and one with a permanent scratch.
Specialized Tools for a Flawless Finish
A few extra items will help you tackle the specific challenges that only pop up after a renovation. These are the tools that handle the small details that make a huge impact on the final result.
- Plastic Putty Knives & Scrapers: These are perfect for gently lifting dried paint drips, caulk, or sticker gunk without gouging new surfaces. Never use metal on delicate materials like glass or finished wood.
- Soft-Bristled Brushes: An old toothbrush or a small detail brush works wonders for cleaning out window tracks, grout lines, and the tight corners around fixtures where dust loves to collect.
- Blue Painter's Tape: Here's a pro tip: use painter's tape to lift fine dust from delicate or textured surfaces where wiping might not work. Just press a piece down firmly and peel it back up.
Putting this toolkit together is your first real step toward a successful cleanup. It might seem like a lot, but every item has a purpose, helping you work smarter and safer. For homeowners here in the high desert, that fine dust is a relentless opponent, and having the right equipment is your only way to win.
A Room-by-Room Renovation Cleaning Checklist
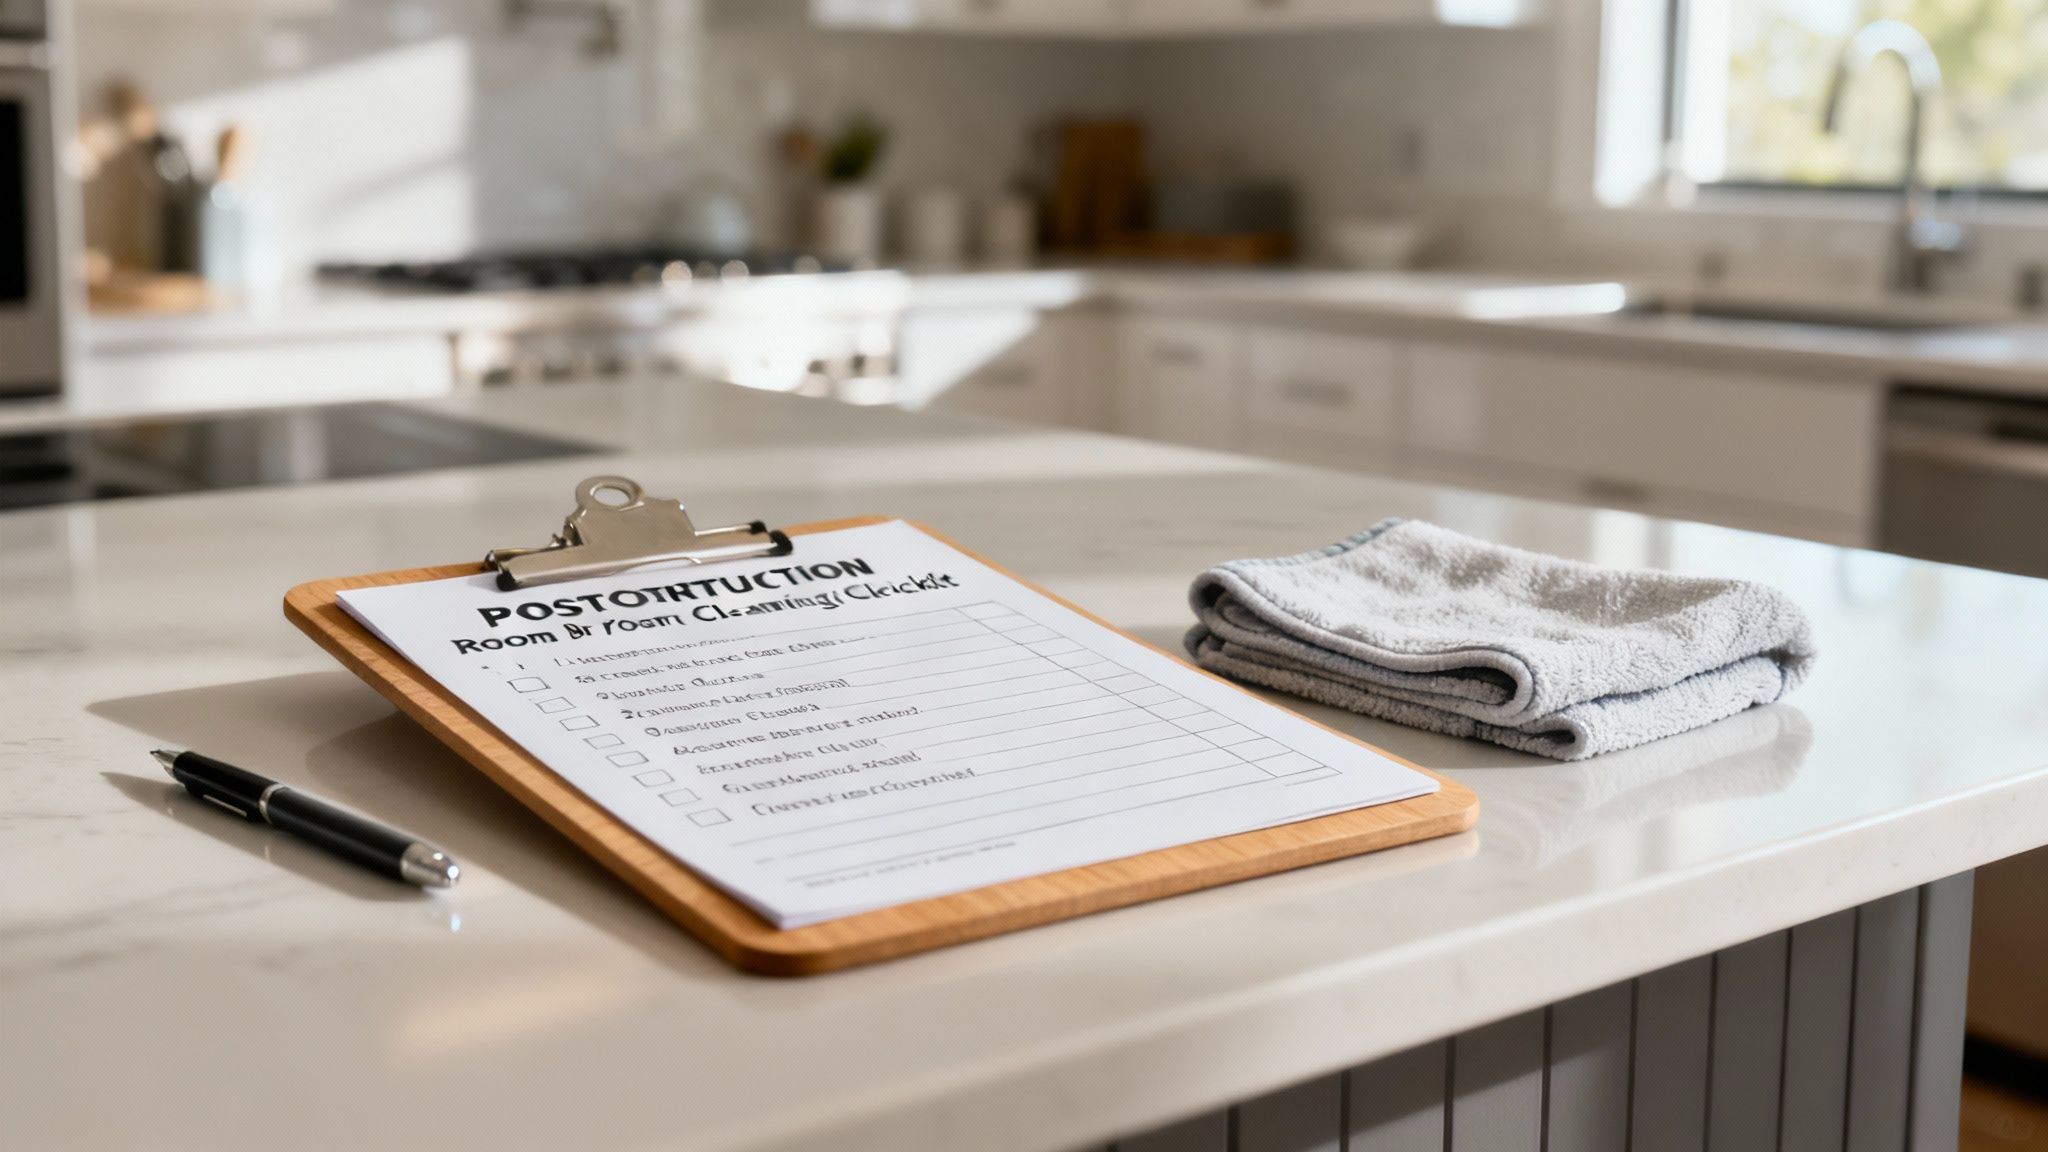
Alright, this is where the real work begins-turning that dusty construction zone back into your home. The secret to a truly thorough post-construction clean isn't just elbow grease; it's having a detailed, room-by-room battle plan. This checklist is that plan, designed to make sure no speck of dust gets left behind.
Think of this as more than just wiping things down. It’s about systematically reclaiming your space, whether it's a kitchen in Sparks or a bathroom remodel in Verdi. There's a deep satisfaction in checking off each task, knowing you're putting the final touch on your renovation journey.
This level of detail is exactly why professional cleanup is a booming industry. The demand for meticulous post-construction cleaning is growing fast, especially as construction projects and safety standards rise. It's a specialized field for a reason.
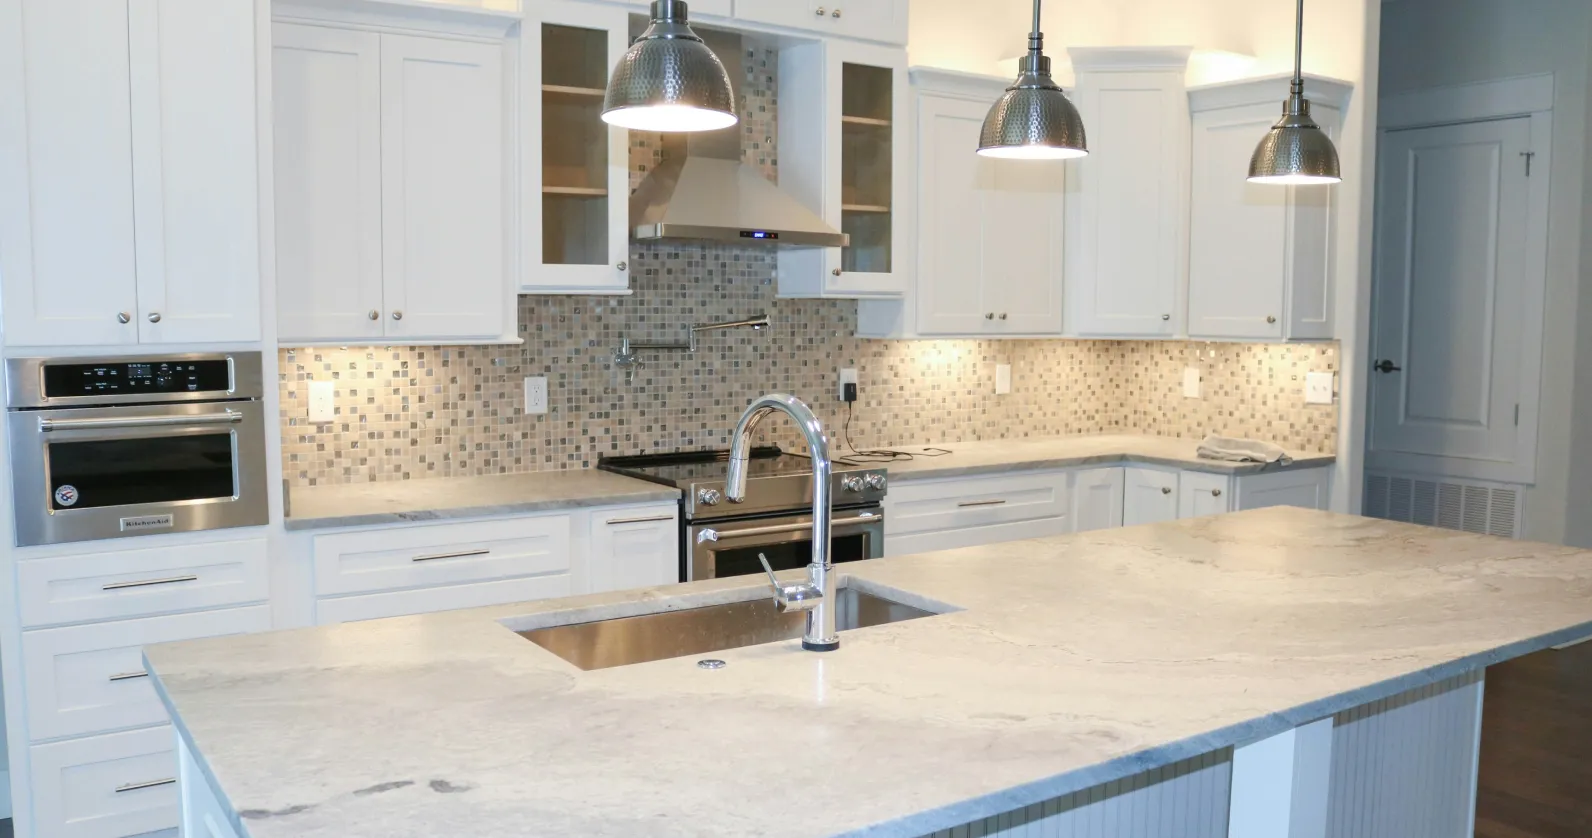
Kitchen Cleanup: The Heart of the Home
The kitchen is almost always the most complex room to clean after a renovation. You've got new appliances, fresh cabinetry, and sensitive surfaces all mixed together. Take your time here-it’s where your family will gather, and you want it to be perfect.
Always start from the highest points and work your way down. Dust the tops of your new cabinets first, then wipe down the cabinet faces. Don't forget to open every single cabinet and drawer to vacuum out the fine sawdust that inevitably settles inside.
Next, hit the surfaces:
- Wipe down all appliances: Carefully peel off any protective plastic film. Use a soft cloth and the right cleaner for your finishes-especially stainless steel-to avoid any scratches.
- Clean countertops: If you have new stone or quartz, look for "grout haze," a thin film left over from tile work. You might need a specialized haze remover, but always test it on a small, hidden spot first.
- Polish the sink and faucet: Give your new fixtures a final polish to make them shine.
- Clean the backsplash: Gently wipe down new tile and grout lines to get rid of any remaining residue.
Bathroom Detailing: Polishing the Oasis
Bathrooms are small spaces packed with details, making them a prime spot for dust to hide. New tile, fixtures, and glass are often coated in a fine layer of construction grime.
Again, start high. Clean any new light fixtures and the exhaust fan cover. Then, move to the walls and tile. Just like in the kitchen, that pesky grout haze can be an issue on new tile floors or shower walls.
The real "finished" look in a bathroom comes from spotless fixtures and glass. Taking the extra time to polish every chrome faucet and make the new shower door crystal clear is what makes the space feel truly complete and spa-like.
Make sure you focus on these key areas:
- Shower and tub: Thoroughly rinse and wipe down the entire area. Pay close attention to the corners and grout lines.
- Vanity and sink: Clean it inside and out. Vacuum the drawers and polish the faucet and drain until they gleam.
- Toilet: Clean the entire toilet, from the tank right down to the base, making sure to get any dust that has settled behind it.
- Mirror and glass: Use a good streak-free cleaner for a perfect finish on the vanity mirror and any shower glass.
Bedrooms and Living Areas: Reclaiming Your Comfort Zones
These areas might seem simpler, but the sheer number of surfaces means dust has endless places to settle. The key here is to be methodical and not skip the small stuff. It’s the difference between a surface-level clean and the kind of deep clean that truly improves your home's air quality.
Start with ceiling fixtures like fans and lights-an extendable duster is your best friend here. From there, vacuum the walls using a soft brush attachment before you wipe down all the trim.
Don’t forget these often-missed spots:
- Windows: This is a multi-step job. First, vacuum the tracks and sills to remove debris. Then, clean the window panes themselves, inside and out.
- Baseboards: Wipe down every inch of your baseboards. You’ll be shocked at how much dust they collect.
- Doors: Wipe down both sides of every door, including the top edge and the entire door frame.
- Closets: Don't neglect the closets! Dust the shelves, rods, and give the floor a thorough vacuum.
- Outlets and Switches: Carefully wipe down all switch plates and outlet covers with a damp cloth.
This checklist provides a solid foundation for your cleanup. For a deeper dive into what a professional-level clean involves, you can check out our guide on what a deep clean includes to ensure you're not missing a single spot.
Tackling a post-construction clean is a marathon, not a sprint. But by following a detailed, room-by-room plan, you can confidently restore your home to the beautiful, clean, and livable space you envisioned.
If this checklist feels overwhelming, you’re not alone. This is a tough job that requires time, energy, and the right tools.
When to DIY vs. When to Hire a Pro
You're standing in the middle of your newly finished space, breathing in that "new construction" smell mixed with a fine layer of dust that seems to coat everything. Now comes the big question: Should you tackle this cleanup yourself, or is it time to call in the professionals?
Honestly, the answer really comes down to the size of your project and, frankly, your tolerance for a serious, top-to-bottom deep clean.
Going the DIY route can definitely save you some money, which is always a bonus after a pricey renovation. You’re in complete control of the schedule and the entire process.
If you just wrapped up a small project-say, a guest bathroom refresh or a single bedroom update-the mess is probably contained enough for a DIY job. Grab the right tools, set aside a free weekend, and you can absolutely get it done.
But sometimes, the job is just too big, too messy, or too specialized. In those cases, bringing in a professional team is the smartest move you can make.
Signs It's Time to Call a Professional
There are a few tell-tale signs that a post-construction cleanup is more than a simple weekend task. If you're looking at any of these situations, hiring a professional maid service Truckee team is your best bet:
- Large-Scale Renovations: Did you just remodel multiple rooms, an entire floor, or build a new home from the ground up? The sheer volume of dust and debris is massive. A professional crew has the manpower and commercial-grade equipment to handle that scale efficiently.
- Significant Drywall Dust: This is the big one. That ultra-fine powder from sanding drywall is a nightmare. It settles in your HVAC system, gets inside brand-new cabinets, and can linger in the air for weeks. Pros use vacuums with HEPA filters and specific air-scrubbing techniques to capture it properly.
- You Lack the Right Equipment: A standard home vacuum and a bucket of rags just won't cut it here. Without a heavy-duty shop vac (ideally with a HEPA filter), professional-grade cleaning solutions, and specialized scrapers for things like paint overspray, you risk scratching new surfaces or just moving dust around.
The Value of a Professional Crew
Hiring a professional service isn't just about outsourcing the labor; it's an investment in getting the job done right, safely, and quickly. These crews bring years of experience, the proper insurance, and a deep understanding of how to clean new materials without causing damage.
What might take you several long weekends, they can knock out in a single day.
The real value is peace of mind. Knowing that every last speck of potentially hazardous construction dust is gone and your beautiful new space is truly move-in ready is priceless.
And financially, it might be more affordable than you think. As of 2025, the national average for a post-construction cleaning is around $476, with the final price depending on your home's square footage and the intensity of the cleanup. You can dive deeper into post-construction cleaning costs on SterlingCleaningNYC.com.
This cost covers the team's expertise and the specialized equipment needed to handle the job correctly. For investment properties, getting it done fast is key. Altitude Cleaning Crew also offers specialized post-construction rental cleaning services to get your property back on the market without delay.
Got Questions About Post-Construction Cleaning? We've Got Answers.
We get a lot of questions from homeowners who are staring at the mess left behind after a renovation. Whether you're dealing with dust from the desert winds in Sparks or mud tracked in after a Tahoe snowmelt, cleaning up after construction is a unique challenge. Here are the answers to the questions we hear most often.
What Does a Professional Post-Construction Clean Actually Cover?
Think of it as a deep, restorative clean for your brand-new space. It’s far more intense than a standard house cleaning. We’re talking about a top-to-bottom, inside-and-out process designed to hunt down and eliminate every speck of construction dust and debris.
This means we’re not just wiping countertops. Professionals clean everything: walls, ceilings, light fixtures, window tracks, and every inch of flooring. We also tackle the nitty-gritty details, like cleaning the dust from inside your new cabinets, carefully peeling stickers off new appliances, and polishing every fixture until it gleams.
How Long Is This Going to Take?
The timeline really hinges on the scope of your project. For a smaller job, like a single bathroom remodel, a professional crew might be in and out in just a few hours.
But for a full home renovation or a brand-new build, it’s a much bigger undertaking. You can expect a team to spend one to two full days getting a larger space completely move-in ready. It's a marathon, not a sprint.
My Regular House Cleaner Is Great. Can't They Just Do It?
We love regular house cleaners-they're masters of maintenance! But post-construction cleaning is a whole different ball game. It's a specialized, heavy-duty job that requires specific tools and know-how.
For starters, we use industrial equipment like HEPA-filter vacuums. These are critical because they trap the ultra-fine, often hazardous dust that a standard vacuum would just blow right back into the air.
Professionals are also trained to handle tricky situations unique to construction sites. They know how to get that stubborn grout haze off your new tile without scratching it, or how to properly dispose of leftover construction materials. It's about protecting your investment.
A professional house cleaning Reno NV service brings the right equipment and experience to the table. They’re equipped to handle the unique mess a renovation creates, ensuring your new space isn't just clean, but safe and truly finished.
Book your cleaning with Altitude Cleaning Crew – your trusted maid service in Reno. Call (775) 376-5527.
Flat-Rate House Cleaning Services You Can Count On
From downtown Reno apartments to family homes across Sparks, our team delivers reliable, professional house cleaning you can count on.