Clean Coffee Maker: Descale, Maintain & Shine

That first bad cup usually tells the story. The coffee is hot, but it tastes flat, bitter, or faintly sour, and the beans get blamed when the underlying problem is the machine.
A clean coffee maker changes more than flavor. It helps the machine brew properly, keeps stale residue out of the cup, and cuts down the grime that builds up in damp, warm parts that are often overlooked.
That First Sip Is Everything
Many individuals notice the problem in one sip.
Yesterday’s coffee tasted fine. Today’s tastes muddy, sharp, or strangely dull. The beans are the same. The water is the same. The mug is clean. What changed is usually the buildup hiding in the brewer.

I see this with home kitchens all the time. People wipe the counter, rinse the carafe, maybe swap the filter, and assume the job is done. Meanwhile, old oils cling to baskets and lids, and minerals from the water line the inside of the machine where you cannot see them.
That is why generic advice falls short. A drip brewer does not collect grime the same way a K-Cup machine does. A French press traps oily residue in the mesh. An espresso machine demands tighter upkeep because heat, pressure, and coffee oils create a mess fast.
Different machines, different trouble spots
A useful cleaning routine depends on what you brew with:
- Drip coffee makers collect scale in the water path and oily residue in the basket and carafe.
- Single-serve brewers hide buildup around the pod holder, exit needle, and reservoir.
- French presses trap sludge in the plunger screen and around the frame.
- Espresso machines need attention on the group head, portafilter, steam wand, and internal scale.
What helps
The best results come from separating three jobs that people often lump together:
- Rinsing away fresh residue
- Washing removable parts
- Descaling mineral buildup inside the machine
Tip: Cleaning removes oils and visible grime. Descaling removes mineral deposits. They are not the same job, and skipping the second one is why many machines still brew poorly after a “deep clean.”
If your goal is a better cup and a machine that lasts, the fix is usually simple. It just needs to match the machine sitting on your counter.
Why a Clean Coffee Maker Matters More Than You Think
A neglected brewer affects three things fast. Health, flavor, and machine performance.
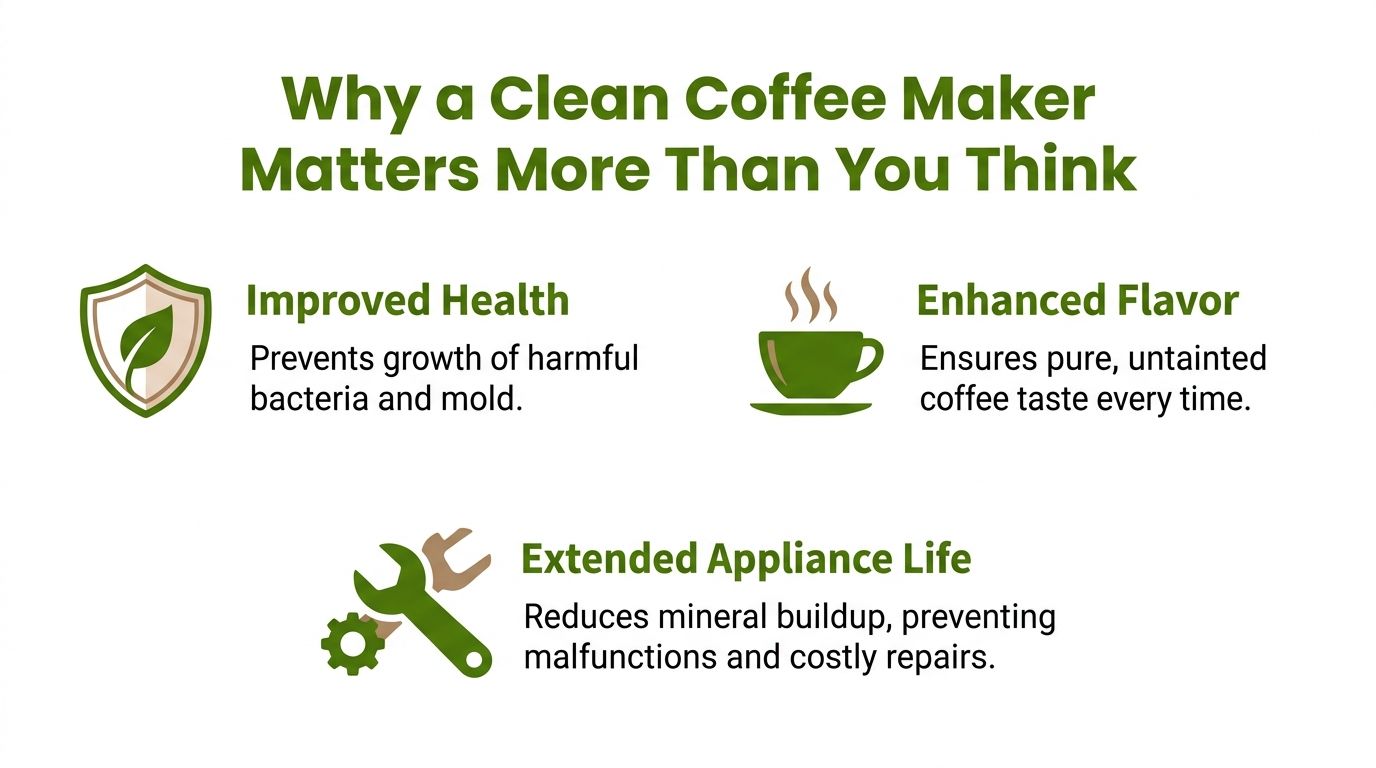
Health is the part often underestimated
The reservoir looks harmless because the water going in is clean. The problem is the environment inside the machine. It stays damp, dark, and warm.
A key finding from Bar Keepers Friend’s discussion of coffee maker cleaning notes that in 50% of homes tested, yeast and mold were detected in the reservoir, which matters because those organisms can trigger negative responses in sensitive people.
That does not mean every machine is dangerous. It means this appliance should not be treated like a self-cleaning box just because it uses hot water.
Flavor goes off before the machine looks dirty
Coffee leaves behind oily residue. Those oils sit on plastic, glass, metal, lids, baskets, and valves. After enough heat cycles, they turn the next brew bitter.
This is why someone can buy better beans and still get disappointing coffee. They are pouring fresh coffee through old residue.
A quick rinse helps, but it does not solve the whole problem. The brew basket, carafe lid, and any narrow channels need thorough washing.
Scale slowly chokes the machine
Hard water leaves minerals behind. Cleaning the outside does nothing for that buildup. You need descaling to dissolve it.
When scale builds up, common problems start showing up:
- Longer brew times
- Weak water flow
- Extra steaming
- Uneven extraction
- Stress on heating components
A machine rarely fails all at once. It usually gives warnings first through slower cycles and worse coffee.
Key takeaway: If a coffee maker tastes harsh, brews slowly, or smells stale even after a rinse, the problem is often inside the machine, not in the beans.
Routine maintenance is not cosmetic. It protects the cup you drink every morning and the appliance you rely on to make it.
Your Essential Coffee Maker Cleaning Toolkit
You do not need a crowded caddy to keep a clean coffee maker. You need a small group of tools that do specific jobs well.
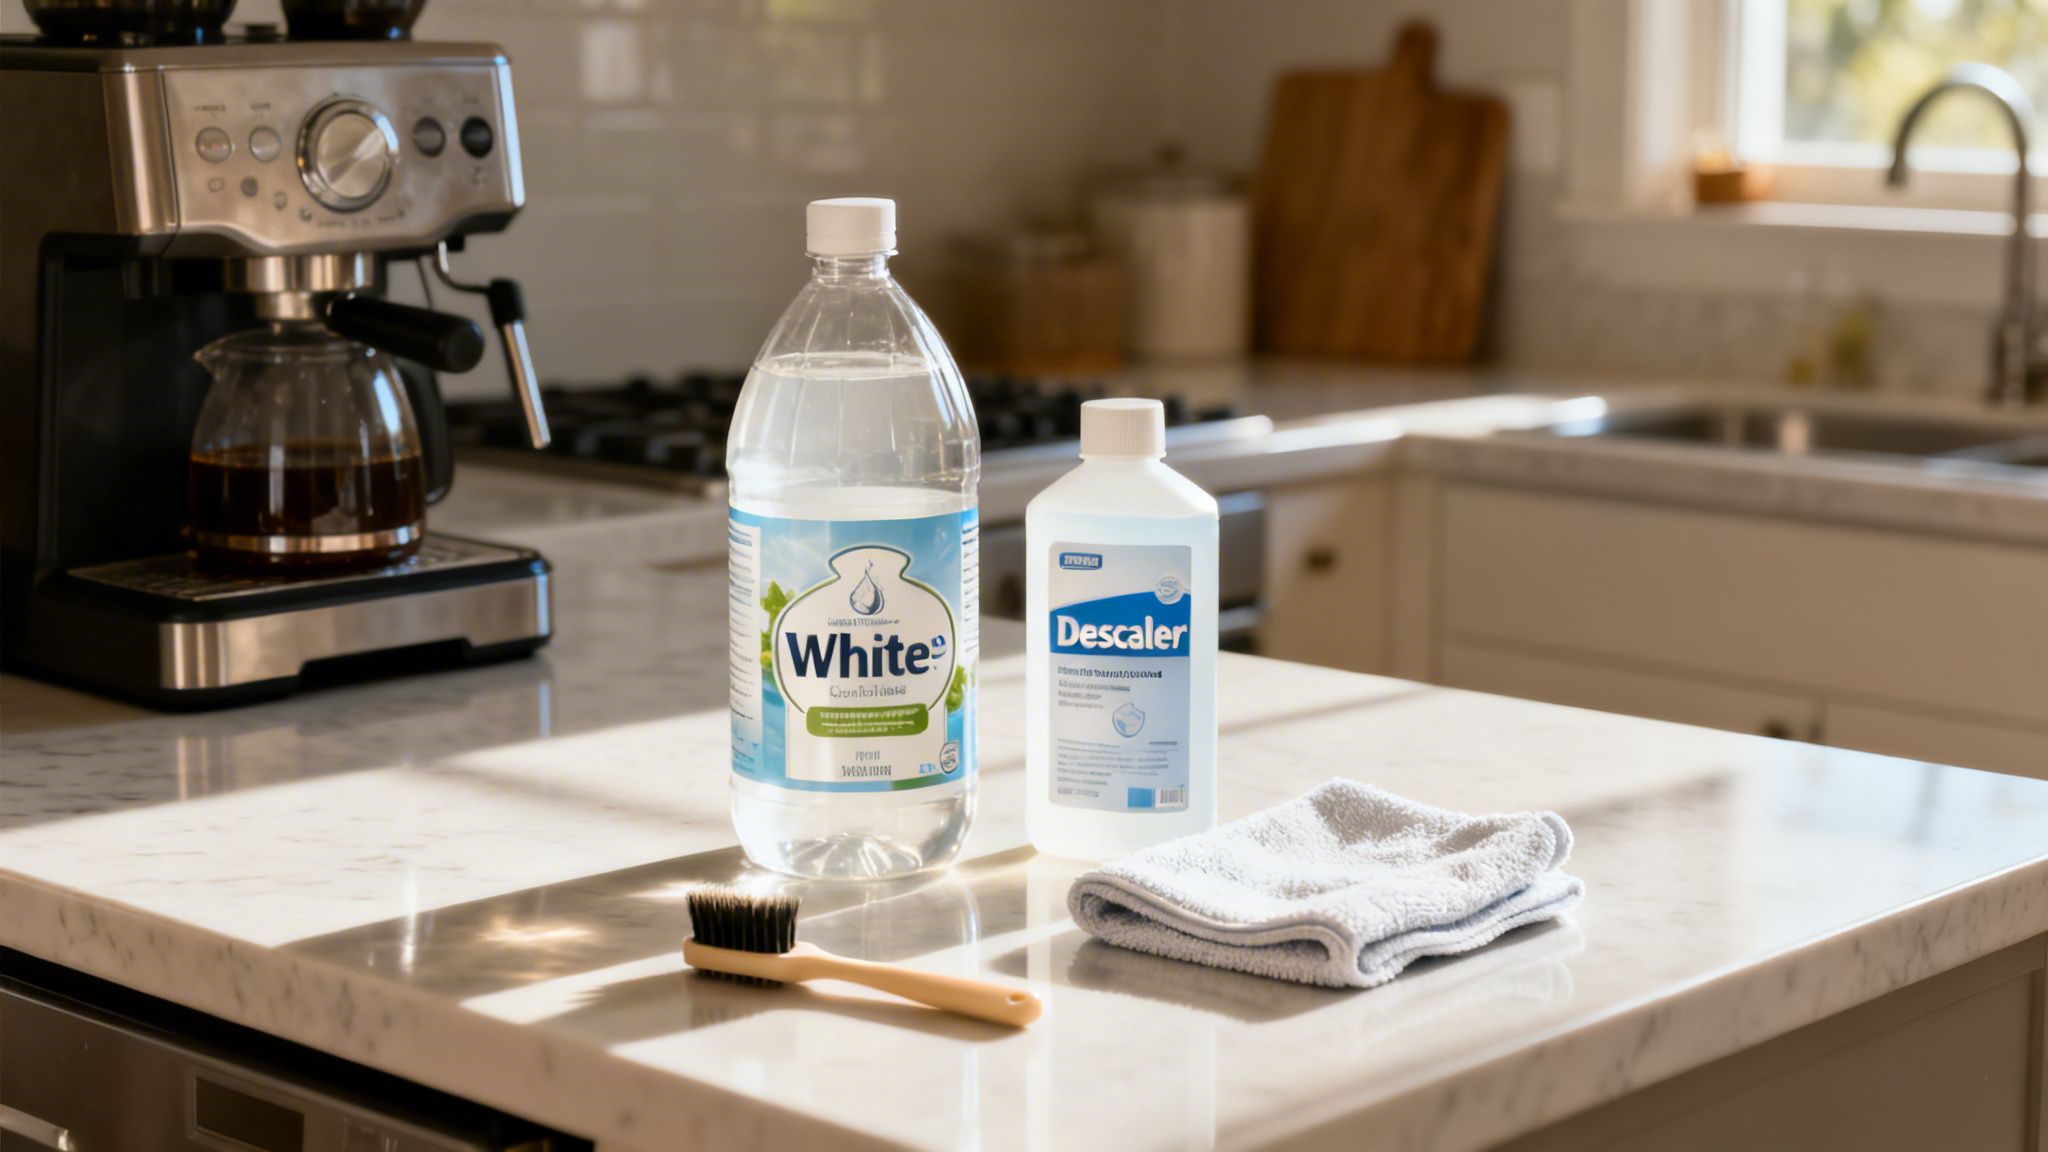
The small kit that covers most machines
Keep these on hand:
- White vinegar for standard descaling routines on drip machines
- Manufacturer-safe descaling solution if the manual calls for it
- Dish soap for carafes, lids, baskets, drip trays, and removable parts
- Microfiber cloths for wiping exteriors and drying parts without lint
- Soft bottle brush or narrow scrub brush for carafes and tight corners
- Old toothbrush or detail brush for seams, hinges, and pod holders
- Paper towels or clean drying towel for post-rinse cleanup
If you are building out a more complete home cleaning kit, this cleaning supplies list from Altitude Cleaning Crew is a practical reference.
What works well and what does not
Vinegar is useful because it is easy to find, familiar, and effective for many drip brewers. It is not ideal for every machine, especially if the manufacturer prefers a specific descaler.
Specialized descalers usually rinse cleaner and smell less aggressive. The trade-off is cost and the need to follow brand instructions more closely.
Dish soap is perfect for removable pieces. It is not a substitute for descaling internal mineral deposits.
Avoid these mistakes
Some cleaners should stay far away from coffee equipment:
- Bleach can leave residue and is too harsh for food-contact brewing paths
- Abrasive scouring powders can scratch plastic windows, finishes, and glass
- Metal scrubbers damage baskets, carafes, and polished parts
- Strong fragranced cleaners can leave behind smells that transfer into coffee
Tip: If a product leaves a scent on your hands after rinsing, assume it can leave a scent in the brewer too.
One simple rule
Use the gentlest product that can do the job. Wash oils with soap. Dissolve scale with vinegar or a proper descaler. Wipe surfaces with microfiber. Most coffee maker problems come from using the wrong cleaner for the wrong kind of buildup.
The Definitive Guide to Cleaning Your Drip Coffee Maker
Drip machines are straightforward, but they reward consistency. When people say they cleaned the brewer and it still runs slow, they usually washed removable parts and skipped the internal scale.
Daily rinse
Do this right after brewing, not later that night.
- Empty the grounds before they dry into the basket
- Rinse the brew basket and carafe with warm water
- Wash the lid if your model has one with hidden channels
- Leave parts open to air dry so moisture does not sit trapped
This daily habit prevents the sour smell that develops when coffee residue sits in warm plastic.
Weekly wash
Once a week, slow down and wash the pieces properly.
Use dish soap and warm water on the carafe, basket, lid, and any removable filter insert. A bottle brush helps on the bottom curve of the carafe where brown film likes to stay. Wipe the warming plate only after it has cooled.
A lot of machines also have sprayer heads that catch residue. A microfiber cloth works well for exterior wipe-downs, much like the approach used when people clean shower heads with vinegar to break down mineral residue on small openings.
Monthly descale
For internal scale, follow a repeatable process. Mr. Coffee’s cleaning guidance states that a 1:1 white vinegar-water solution run through a full brew cycle, followed by a 30-minute soak, can restore flow rate and taste by 95%. The same guidance says to run 2-3 pure water cycles afterward because 70% of users can taste vinegar residue if that step is skipped.
Use that process like this:
Empty the machine
Remove old grounds and any paper filter.Fill the reservoir
Use a 1:1 mix of white vinegar and water.Run a brew cycle
If your machine has a clean setting, use it.Let it sit for 30 minutes
That soak gives the solution time to work on the scale.Discard and rinse
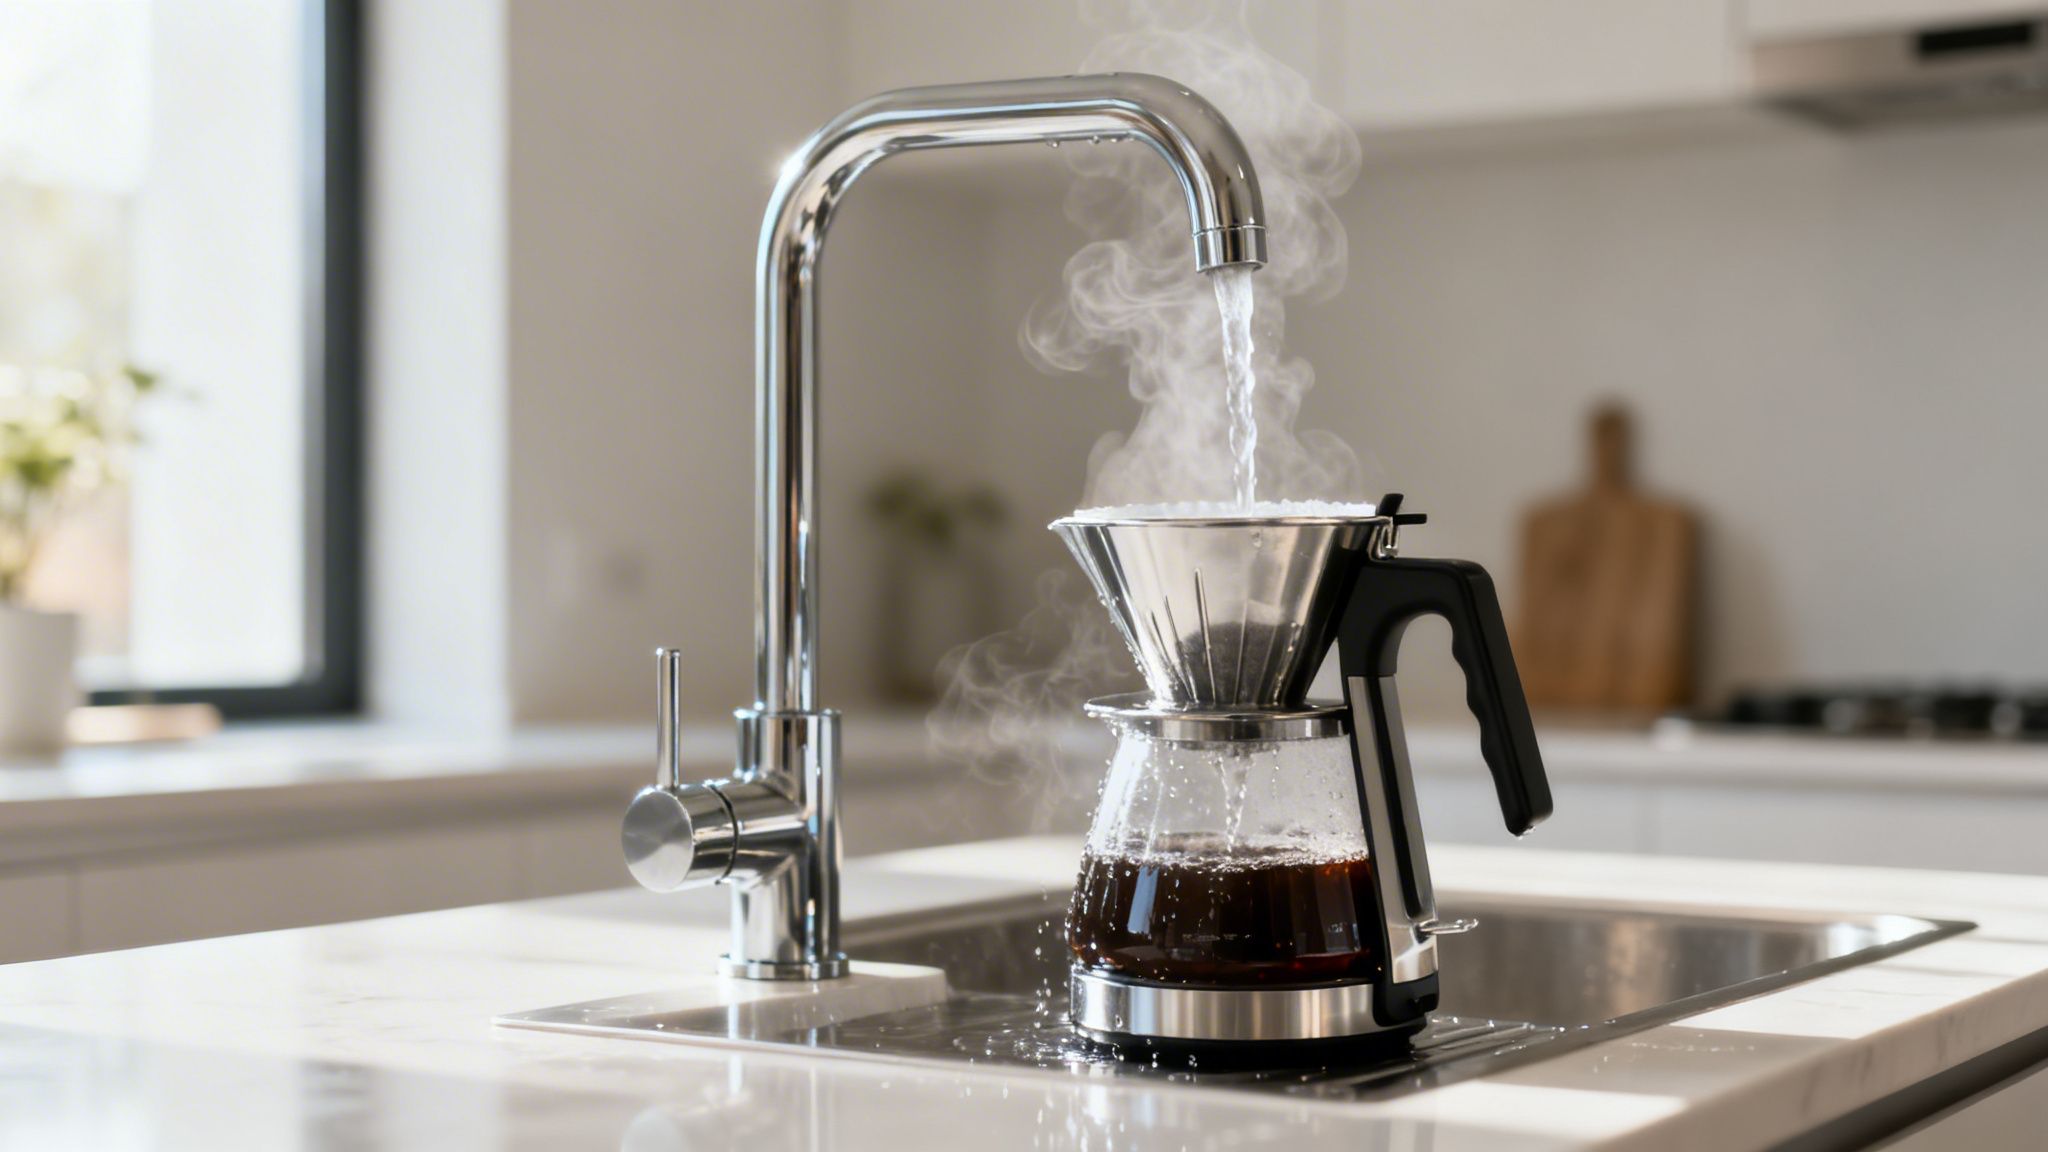
Dump the solution and rinse removable parts.Run fresh water cycles
Keep going until the vinegar smell is gone.
Here is a visual walkthrough if you like to see the process in action before doing it yourself.
Practical note: If the machine still brews slowly after one descale, the buildup may be heavy enough to need another cycle, especially in hard-water homes.
The best routine is not complicated. Rinse daily, wash weekly, descale on schedule, and the machine usually stays reliable.
Mastering Single-Serve and K-Cup Brewer Cleaning
Single-serve brewers look low-maintenance because they make one cup at a time. In practice, they hide mess in small parts.
The trouble spots are usually the pod holder, exit needle, drip tray, and water reservoir. If one of those areas stays neglected, the machine starts dripping unevenly, tasting stale, or throwing grounds into the cup.
Start with the removable parts
Unplug the brewer and let it cool.
Take out the drip tray, reservoir, lid, and pod holder assembly if your model allows it. Wash those pieces with warm, soapy water. Dry them fully before reinstalling.
The pod holder deserves extra attention. Wet grounds compact into corners and under rims. A soft brush or old toothbrush clears that gunk without damaging the plastic.
Needle clogs are common
If the machine sputters or brews partial cups, check the exit needle area.
Use the cleaning tool provided by the manufacturer if you have it. If not, follow the manual’s approved method for clearing the opening safely. Never jam a thick metal object into the needle area. That can bend parts or create a bigger problem than the clog itself.
A gentle approach works best:
- Inspect first for visible grounds
- Loosen residue carefully
- Rinse the holder assembly
- Test with water only before brewing coffee again
The reservoir needs more than a refill
Many owners top off the tank for days without emptying it. That habit encourages film and stale water odors.
Empty the reservoir regularly, wash it with dish soap, rinse well, and dry it before refilling. If your machine uses a water filter, replace it according to the manufacturer’s schedule.
Tip: Keeping fresh water in the tank matters almost as much as cleaning the brewer path. Old water makes a fresh pod taste dull.
Descaling matters here too
Single-serve brewers also collect mineral buildup. Follow your machine’s manual for the correct descaling mode and approved solution. Generic shortcuts can work on some models, but pod machines have tighter internal channels and sensors than standard drip brewers.
Good maintenance looks like this:
| Task | What to do |
|---|---|
| After use | Remove the used pod and empty the drip tray if needed |
| Weekly | Wash the reservoir, pod holder, tray, and exterior |
| As needed | Clear the needle and inspect for trapped grounds |
| On schedule | Run the brand-approved descaling cycle |
When a single-serve brewer starts acting inconsistent, the fix is usually not complicated. It is just hidden in smaller parts than people expect.
Proper Care for French Press and Espresso Machines
These two brewers reward detail. They also punish lazy cleanup faster than a standard drip machine.
A French press turns rancid quickly if oils stay trapped in the mesh. An espresso machine loses performance when the group head, portafilter, and steam system are treated like wipe-only parts.
French press care
The press looks simple, but the plunger assembly holds onto a surprising amount of sludge.
Unscrew the plunger pieces completely. Separate the screen, cross plate, and spring assembly if your model allows it. Wash each piece with warm, soapy water and scrub gently around the mesh edge where grounds cling.
Pay attention to these areas:
- Mesh screen where fine particles lodge
- Metal frame where oils collect around the rim
- Lid underside where steam leaves residue
- Glass beaker bottom where sediment settles
Let parts dry fully before reassembling. If you rush this step, trapped moisture can leave a stale smell.
Espresso machine care
Espresso equipment needs a more disciplined routine because heat, pressure, and coffee oils build residue fast.
Daily upkeep should include purging and wiping the steam wand after use, rinsing the portafilter and basket, and emptying the drip tray. Do not leave milk residue on the wand. It hardens quickly and gets harder to remove later.
Weekly care usually means deeper cleaning of the removable brewing parts and, on machines designed for it, backflushing with an espresso machine cleaner such as Cafiza. Always check the manual before backflushing because not every home machine uses the same process.
What owners often miss
The mistake is usually focusing only on what is visible.
For French press users, that means washing the carafe but not dismantling the plunger. For espresso owners, it means wiping the exterior while ignoring the group head, basket, or steam wand openings.
Key takeaway: If your coffee tastes harsh or muddy even with good beans, look first at the part that touches brewed coffee or steam directly. That is where residue changes flavor fastest.
When to slow down and check the manual
Espresso machines vary a lot. Some welcome routine descaling. Others need very specific products or procedures. Some super-automatic machines also have internal brew groups that should be removed and cleaned differently from semi-automatic models.
French presses are forgiving. Espresso machines are not. When in doubt, use the manufacturer’s cleaning directions and avoid improvising with harsh chemicals or sharp tools.
Beyond the Brewer A Professional Deep Cleaning in Reno NV
TLDR: If you are searching for deep cleaning Reno NV, this is for homeowners, renters, and property managers who want a true top-to-bottom reset. A clean coffee maker helps, but a spotless kitchen, dust-free surfaces, and cleaned high-touch areas make the bigger difference in how the whole home feels.
If you are comparing deep cleaning Reno NV services right now, the goal is simple. You want the home to feel fresh, detailed, and ready to live in, show, rent, or hand off without chasing missed spots yourself.
What is included
A real deep clean goes beyond surface tidying. It is built for homes that need detail work, buildup removal, and a better baseline.
Typical inclusions:
- Bathrooms with tub, shower, toilet, sink, mirrors, and fixture wipe-down
- Kitchen degrease on counters, fronts of appliances, sink area, and exterior cabinet faces
- Floors vacuumed and mopped
- Baseboards dusted and wiped as needed
- Dust removal from surfaces, vents, ledges, and reachable fixtures
- Mirrors polished
- High-touch disinfecting on switches, handles, and other frequently touched points
Optional add-ons:
- Inside oven
- Inside fridge
- Inside cabinets
- Wall spot cleaning
- Pet hair focus areas
For readers comparing service levels, this page on deep cleaning service near me gives a helpful snapshot of what a detailed reset should include.
Schedule - Clean - Inspect - Enjoy
The best cleaning companies keep the process easy and predictable.
- Schedule by booking online or calling with your home size, priorities, and any add-ons
- Clean after you receive a confirmation and arrival window, with cleaners bringing supplies and working from a checklist
- Inspect through a quick quality check before the team wraps up
- Enjoy coming back to a home that feels reset, not just picked up
That process matters in Reno and Sparks, where schedules get tight fast. Weekend slots fill quickly, and desert dust does not wait for a convenient moment to settle on everything again.
Why Reno homes need a little different approach
Local conditions change the work.
Reno desert dust gets into corners, blinds, vents, and baseboards fast. During wildfire ash season, fine particles settle on surfaces even when windows stay shut.
Hard water matters too. In areas like Reno, water hardness of 150-200 mg/L means limescale can build up 30-50% faster in appliances, and guidance discussed by Ratio Coffee’s article on overlooked coffee maker cleaning notes that local conditions can call for descaling every 4-6 weeks rather than a more generic schedule.
Price range
Most cleans fall within a typical price range depending on size, condition, and add-ons.
Micro FAQ
How long does it take?
It depends on the size and condition of the home, plus whether you add inside oven, fridge, or cabinet cleaning.
Are supplies included?
Yes. Professional cleaners typically arrive with supplies and equipment needed for the checklist-based clean.
Can you handle Reno dust and hard water residue?
Yes. Those are common local issues, especially around baseboards, window areas, fixtures, and kitchen surfaces.
What if I have pets?
Ask for pet hair focus areas so the team can spend extra attention where fur collects most.
Book your cleaning with Altitude Cleaning Crew - your trusted deep cleaning Reno NV provider in Reno. Call 775-376-5527 or book online - http://altitudecleaningcrew.fieldd.co/
Enjoy a Better Brew and a Cleaner Home
A clean coffee maker is one of the simplest upgrades you can make to your daily routine. Better taste, fewer stale odors, easier brewing, and less wear on the machine all come from a maintenance routine that fits the brewer you own.
If the machine is handled but the rest of the home still feels dusty, greasy, or overdue for detail work, the bigger reset matters too. Clean coffee tastes better in a clean kitchen, and a clean kitchen feels better in a clean home.
If your home needs more than a quick wipe-down, Altitude Cleaning Crew offers dependable, detailed cleaning for Reno and surrounding Northwest Nevada communities. Book your cleaning with Altitude Cleaning Crew - your trusted deep cleaning Reno NV provider in Reno. Call 775-376-5527 or book online - http://altitudecleaningcrew.fieldd.co/
Flat-Rate House Cleaning Services You Can Count On
From downtown Reno apartments to family homes across Sparks, our team delivers reliable, professional house cleaning you can count on.